One of the best methods for evenly and perfectly cooking a turkey is to spatchcock (or butterfly) that bird. When you spatchcock a turkey, you expose a more even portion of the meat and skin to the heat of the oven, and I’m here to tell you guys that this makes a HUGE difference.
I’ve used this method to make Spatchcocked Chickens and Spatchcock Cornish Game Hens in the past, and basically, the only difference we’re dealing with here is the size of the bird.
But if you’ve looked this up, you’re probably aware how good the results can be, so enough of me explaining the benefits. Let’s just dive into it.
Let’s spatchcock a turkey! (Or butterfly a turkey, if you prefer that term.)
First things first, you’ll need to procure yourself a turkey and allow it to thaw completely in the fridge. This was about a 13-pound turkey, so it took 4 or 5 days to thaw.
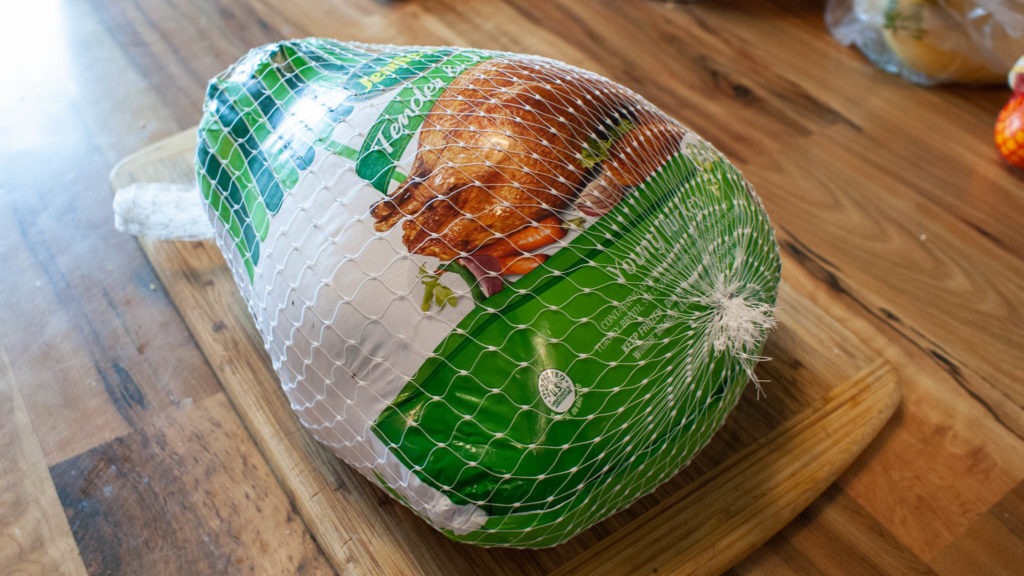
Prepping the turkey
Once that’s done, get it out of the package and pat your bird dry with paper towels. (Spactchcocking/Butterflying is a bit of a messy process, so trying to keep the bird dry will minimize the cleanup later.)
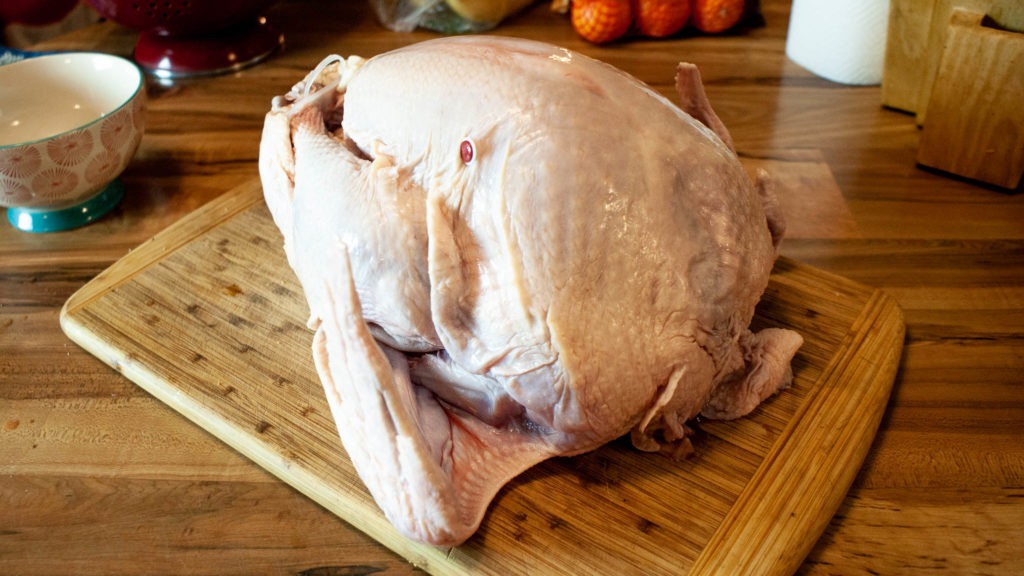
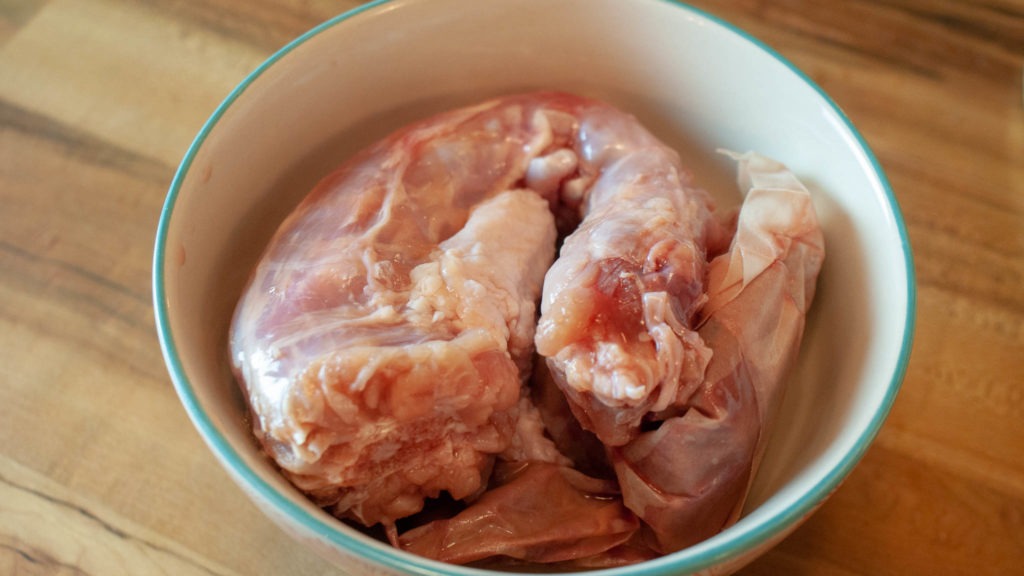
Find the giblets and the neck and get them out of the way. (Don’t toss them though, use them to make turkey gravy!)
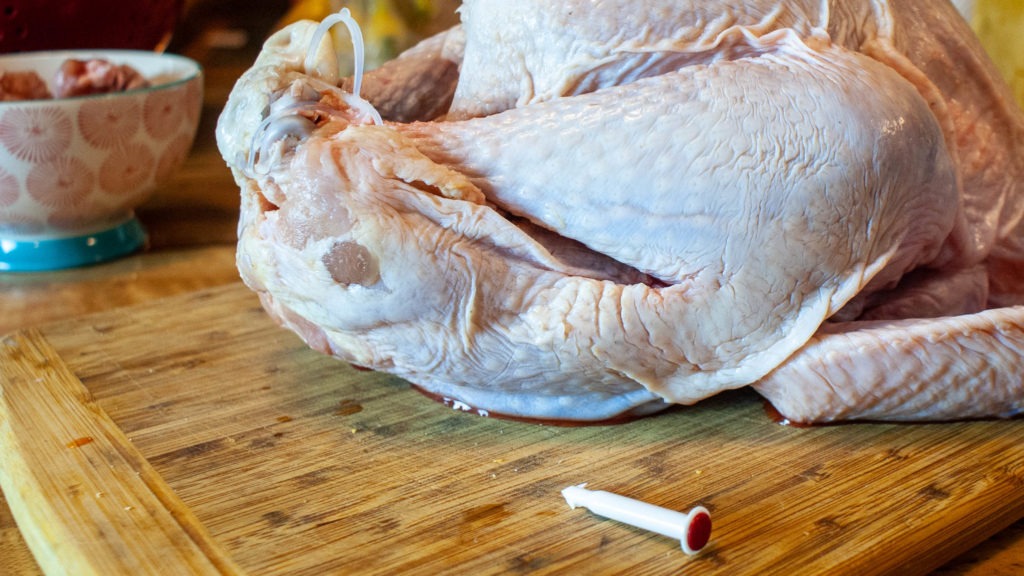
Now we need to address that awful pop-up thermometer they stick in these poor turkeys, and get rid of whatever they used to bind the legs together. Lately these all seem to be some kind of heat resistant plastic, but I’ve never roasted one to see if it’s safe for the oven or not. Also, it’s no use at all to us here, so just get it out of there and toss it.
Seriously, don’t trust that pop-up thing. It will only lead to grief and either the bone-dry desert of what used to be a turkey or worse, to an underdone bird, which can be dangerous. Invest in a good probe thermometer or instant-read thermometer. You’ll be happy you did!
And now that you’ve got your proud piece of poultry freed of its constraints, it’s time to get down to the business of spatchcocking our turkey.
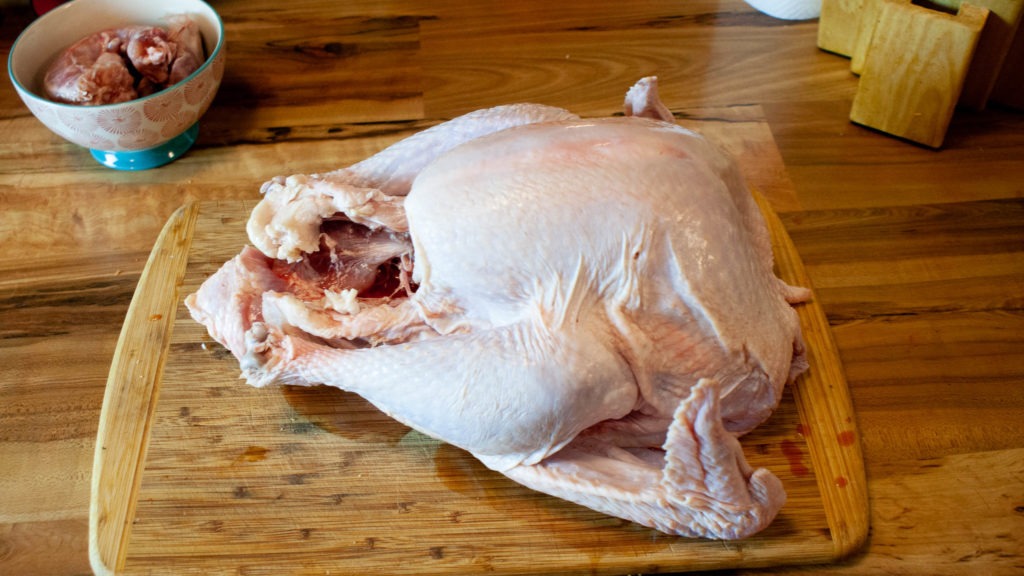
Spatchcock that turkey! (Or butterfly your bird.)
First of all, flip your turkey over onto the breast, then get your gear ready.
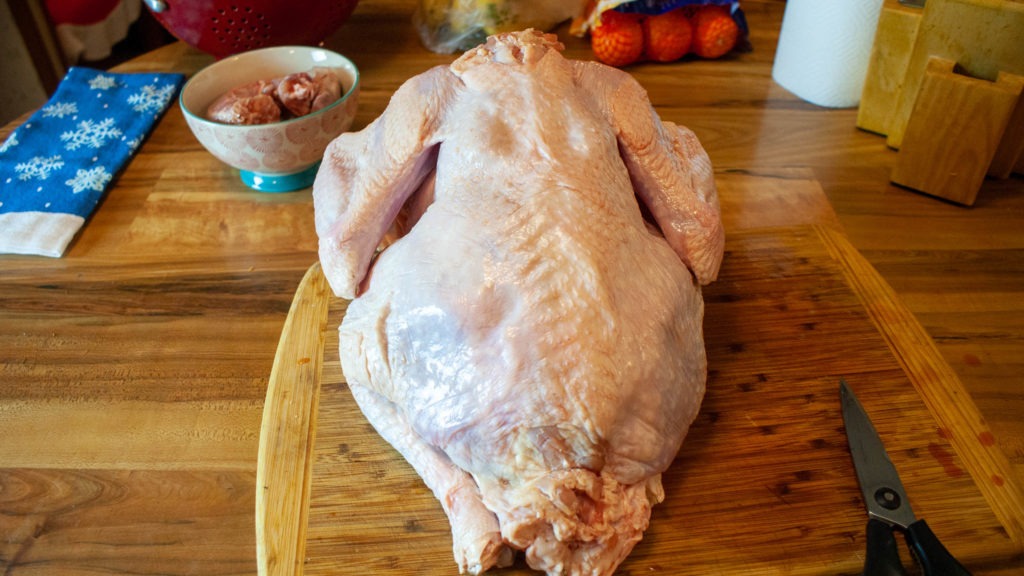
All you need for a perfect butterflied turkey are a set of good kitchen shears and a sharp butcher knife. (I prefer a thin-bladed slicing style knife for this, but feel free to use what you’ve got.)
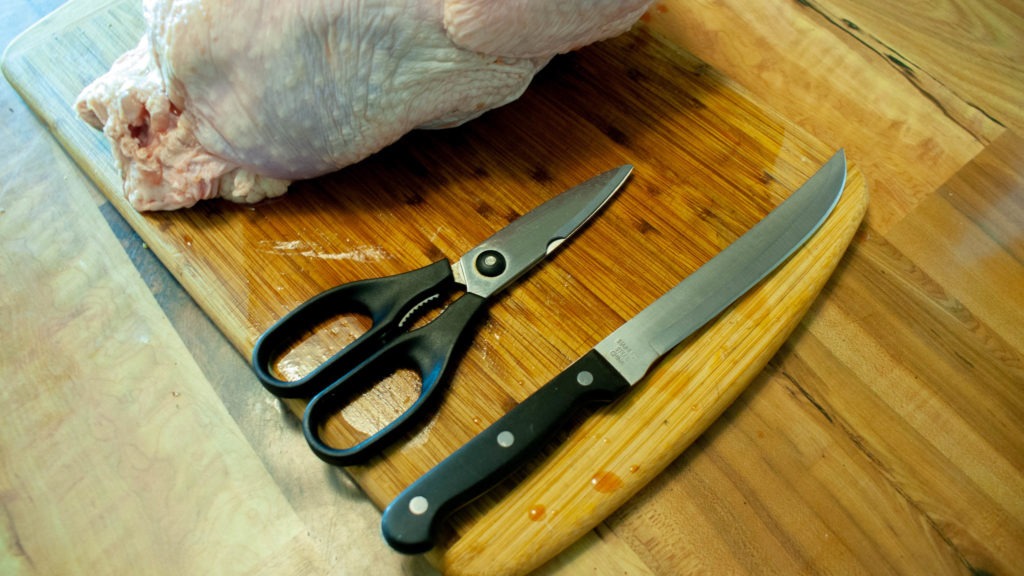
Next, make a slit down both sides of the backbone that goes all the way through the meat.
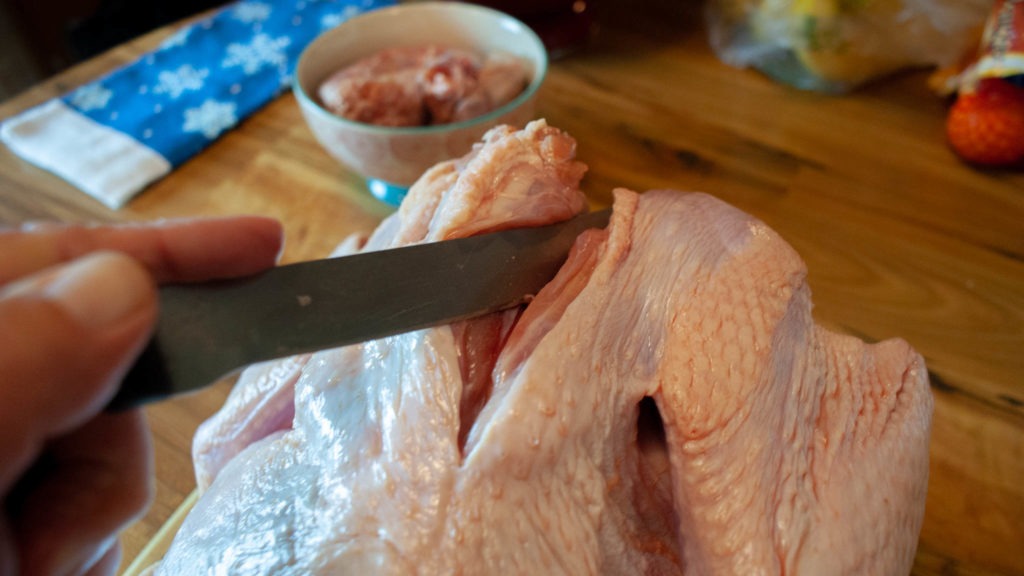
Then separate the ribs from the backbone using your kitchen shears.
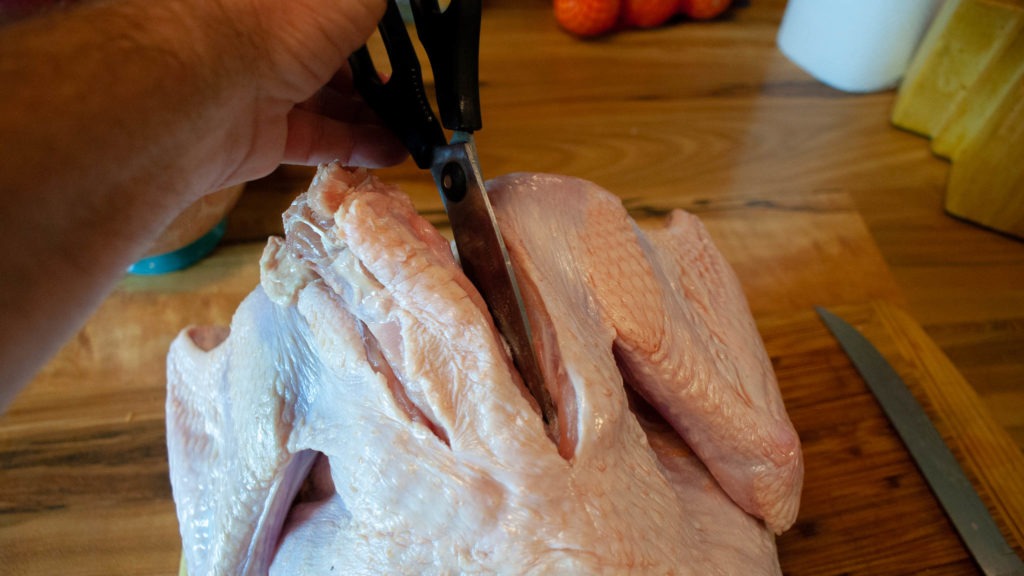
And just keep cutting until you’ve completely removed the backbone, including the pope’s nose. (The part of the turkey the tail feathers attach to.)
Set those aside with the giblets and neck to use in your gravy.
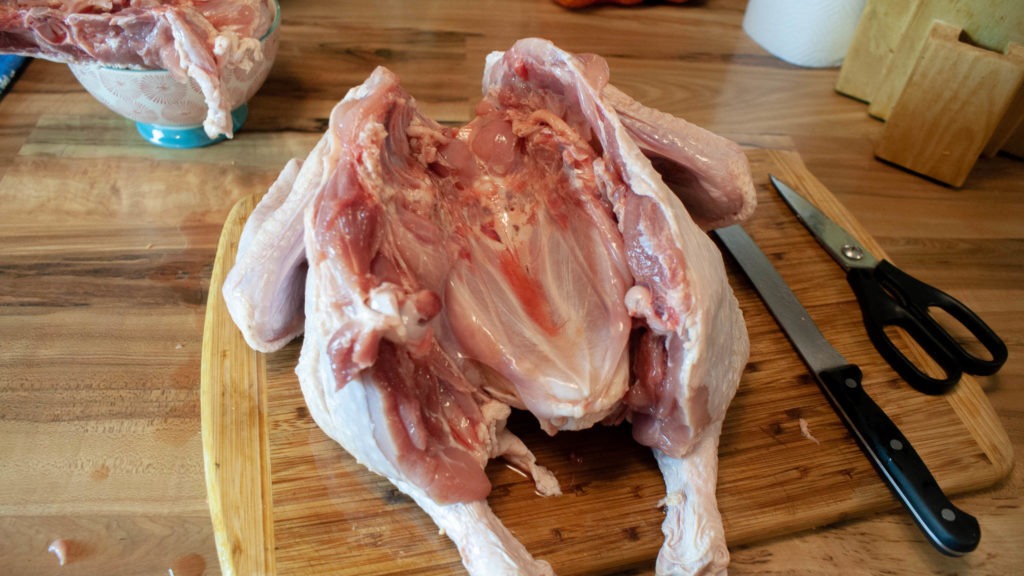
Now let’s flip that bird around because if we want to spatchcock a turkey, we’re going to need to score the keel bone (A.K.A. the breastbone.)
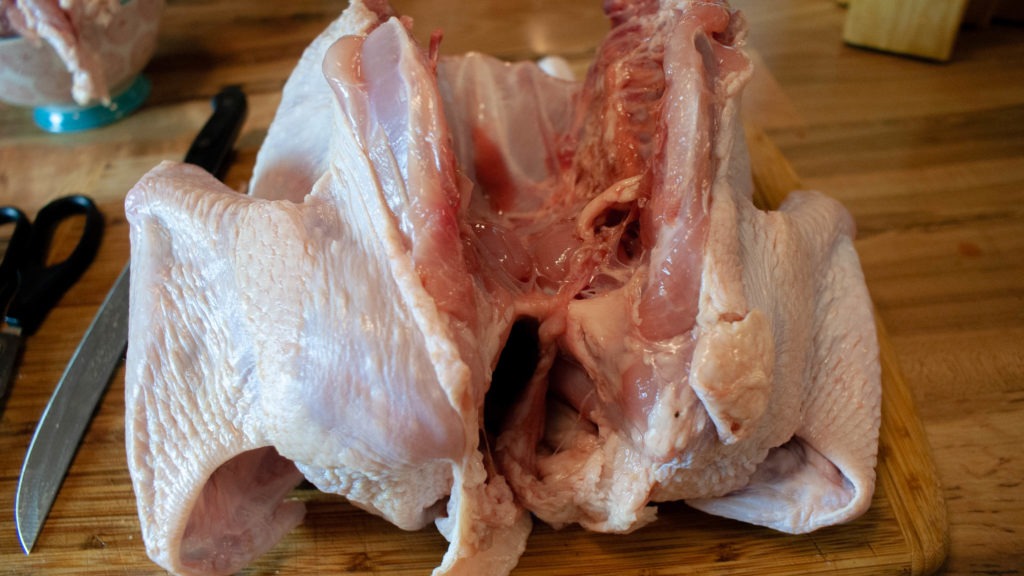
So take that extremely sharp knife of yours and cut a slice right down the middle of the keel bone, starting between these two little bulges of meat near the wishbone.
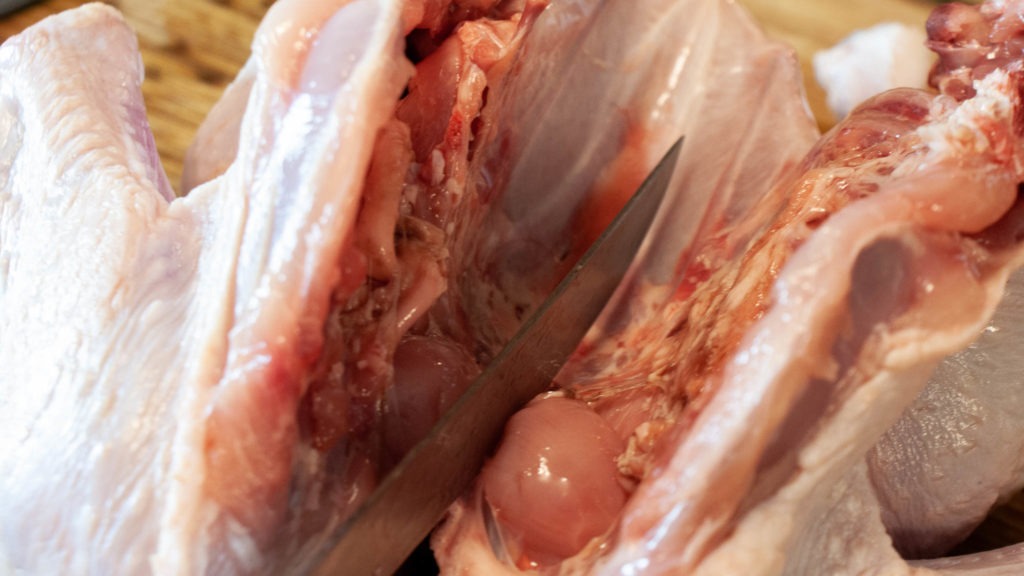
We’re not trying to cut all the way through here! Just cut enough to let the thing know where it should split. I skip this on smaller birds, but find it invaluable for larger fowl like turkey or goose.
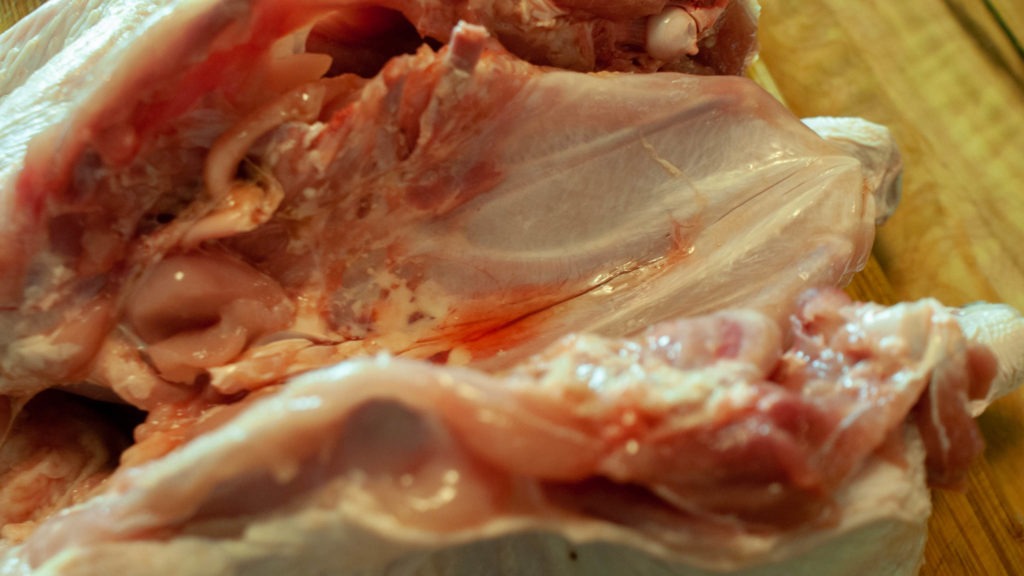
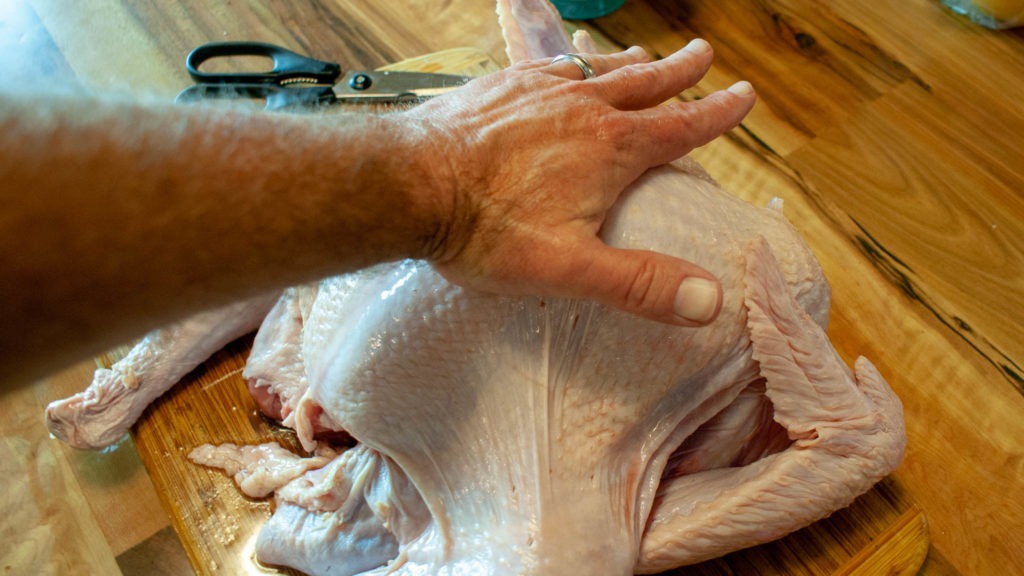
Now flip your turkey over and give a very firm push down in the center of the breast.
Season that bird!
Now grab your favorite turkey seasoning and apply it liberally to your spatchcocked turkey! (I used my favorite turkey spice rub that I also use for my holiday roast turkey, but hey, this is your bird and it’s your kitchen, so go with what makes you happy! And don’t worry, the rub recipe will be listed below.)
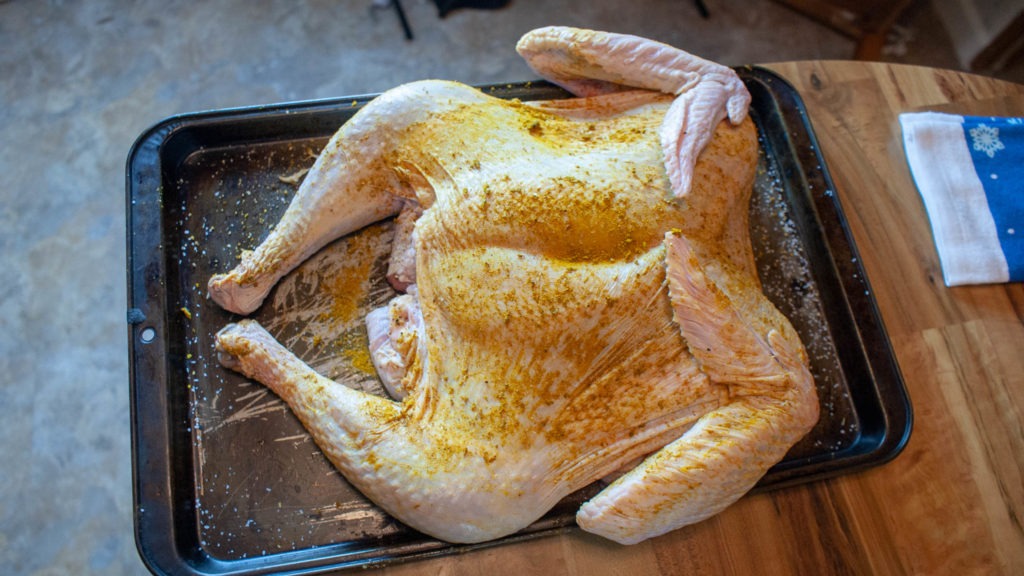
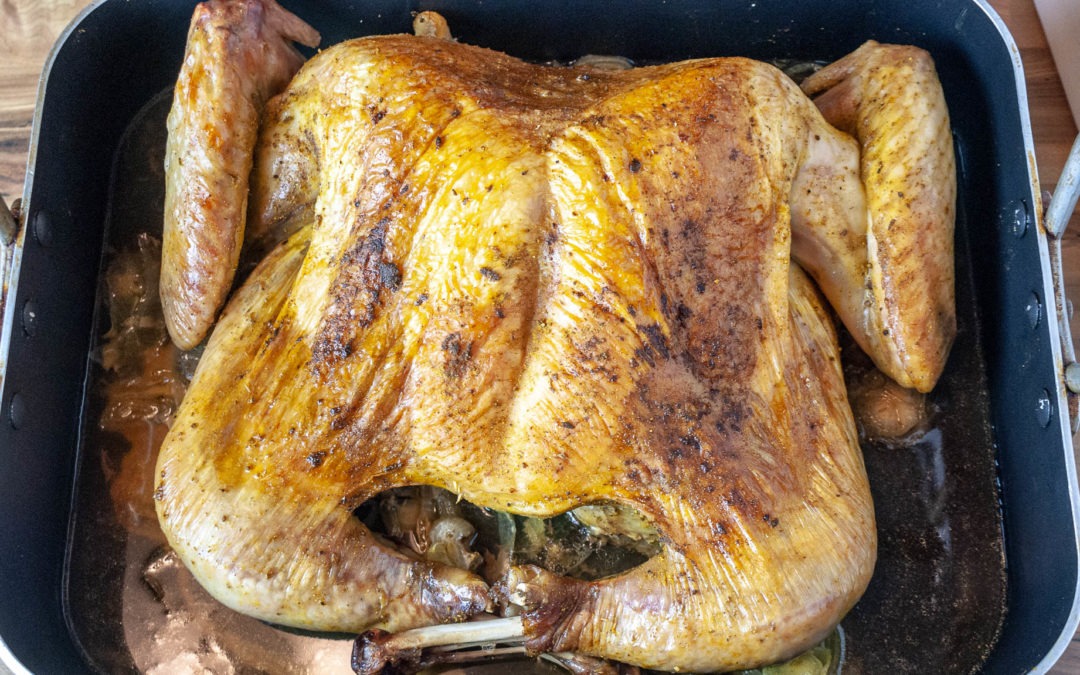
Now, just find a roasting pan large enough to hold your bird and arrange it. The direction of the legs and wings seems to be whatever makes you happy, and it fit best in my pan as shown.
I rested my bird over a bed of sliced onions just to keep air moving around it and to season the drippings, but you can put it on a rack as well. This will help it cook more evenly.
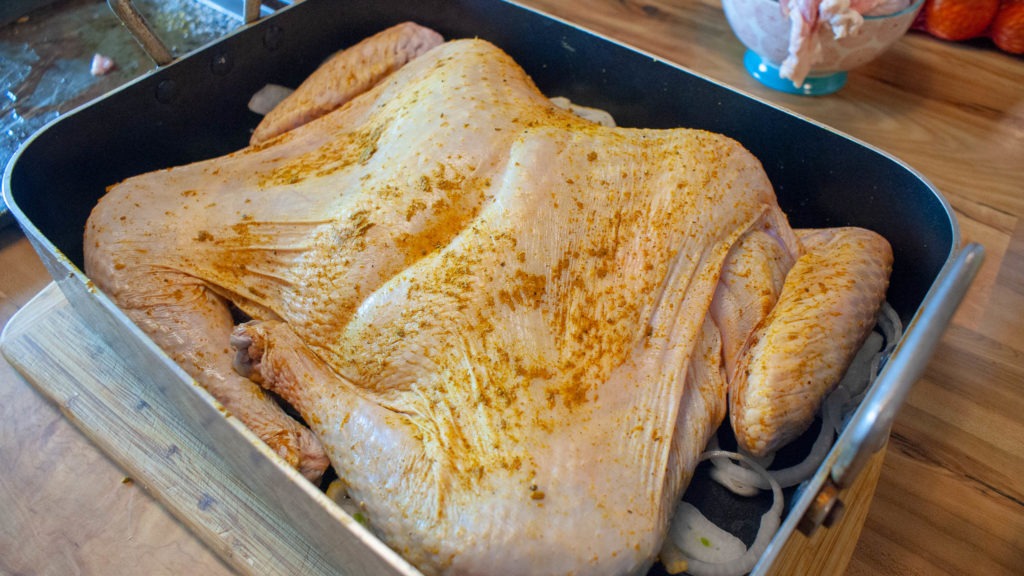
Cooking your spatchcocked or butterflied turkey:
Heat the oven to 400 degrees F. (200 C, or Gas Mark 6) Toss the bird in the oven and set a timer for 30 minutes.
At 30 minutes, reduce the heat to 350 degrees F ( 180 C, Gas Mark 4), and let it cook until your thermometer reads 160 degrees in the thickest part of the breast. (That’s about 72 C).
No basting. Zero hassles. No complicated and messy brine. And no dry turkey!
Then pull out your bird, tent loosely with a double layer of aluminum foil and allow to rest for AT LEAST 20 minutes, and up to 2 hours before carving. This will ensure it’s fully cooked and still juicy.
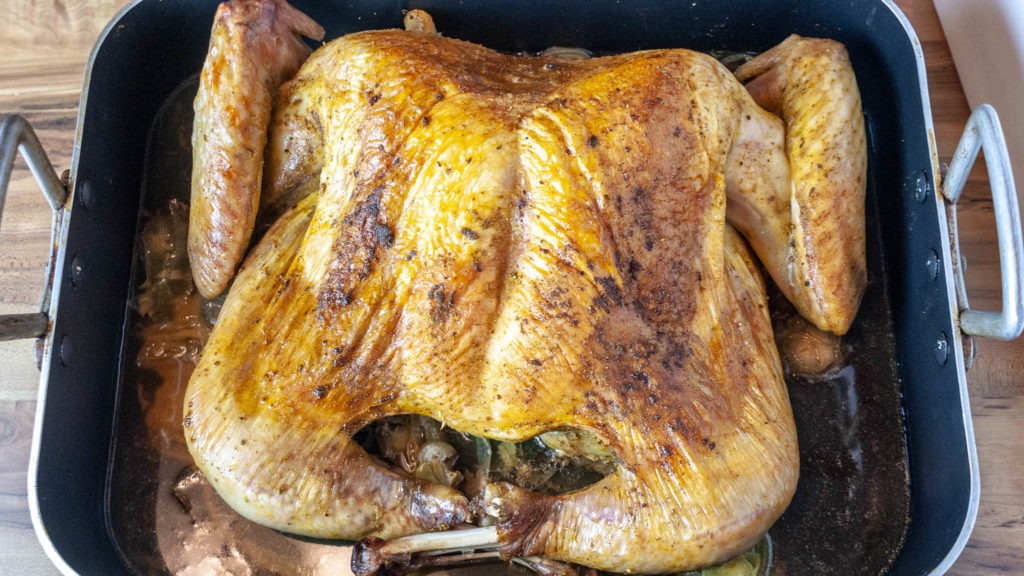
And there you have it. The perfect spatchcocked turkey. (Or at least my family thought it was.) Perfect for your next holiday dinner or back yard grilling extravaganza. Enjoy!
Spatchcocked Turkey feat.Uncle Jerry's Ultimate Turkey Spice Rub Recipe
Ingredients
Turkey
- 1 14 pound Fresh Tom Turkey
Uncle Jerry's Ultimate Turkey Spice Rub
- 1 Tablespoon Curry powder
- 2 Tablespoons Dried Sage
- 4 Tablespoons Kosher Salt
- 1 Tablespoon Ground black pepper
Instructions
For Uncle Jerry's Ultimate Turkey Spice Rub
- Mix curry powder, dried sage, salt, and pepper thoroughly in a small bowl. Use immediately or store up to 1 year in an air-tight container.
For the Turkey
- Heat oven to 400 degrees F (200 C, Gas Mark 6)
- Pat turkey dry with paper towels. Remove neck and giblets, if included, and set aside for use in gravy or stock. Remove pop-up thermometer and leg bindings, if included, discard.
- Place turkey breast-side down on a cutting surface. Cut a slice down each side of the backbone, then cut ribs with kitchen shears to remove backbone from the carcass.
- Score the keel bone with a sharp knife and turn turkey breast-side up. Press down firmly until the keel bone separates and breast flattens.
- Cover entire turkey with Spice rub and arrange in a roasting pan.
- Cook for 30 minutes, then reduce heat to 350 degrees F (180 C, Gas Mark 4). Continue cooking until internal temperature in the thickest part of the breast reaches 160 degrees F (72 C).
- Remove from oven, cover loosely with foil and let rest at least 20 minutes before carving and serving.
Notes
Note. This recipe is converted from parts to Tablespoons for simplicity. I never make a batch this small, and usually, work in 1/4 to 1/2 cup measures. As long as you keep the ratios correct, you'll be golden!
Nutrition Information:
Yield:
8Serving Size:
8 peopleAmount Per Serving: Calories: 1506Total Fat: 59gSaturated Fat: 17gTrans Fat: 1gUnsaturated Fat: 38gCholesterol: 865mgSodium: 3991mgCarbohydrates: 2gFiber: 1gSugar: 0gProtein: 227g
Why do I rest the turkey after roasting?
When you pull your turkey out of the oven, all of the muscle fibers in the meat are constricted. That means all the juices trapped inside are flowing around freely, with nothing to keep them inside.
If you cut the bird right away, all those juices will just run out onto the cutting board. (Not what you want!) Allowing the bird to rest provides a juicy and delicious bird.
Don’t worry, it’ll still be piping hot after 60 minutes, warm after 90, and besides, the gravy will be hot, so it’ll be fine.
What I would have done differently
Nothing, though I do want to try this recipe on a grill. I think the smoke would add a massive amount of flavor to this dish. And it looks really good cooked on the grill, too.
Do you spatchcock a turkey, or butterfly a turkey?
Well, technically they’re the same with one difference. If you want to be technical about wording, this is a butterflied turkey. To truly spatchcock the bird, I would have had to remove the sternum.
That’s fine when you’re talking about a Cornish game hen or a chicken, but I can’t imagine trying to get the turkey out of the roasting pan in one piece with the keel bone missing.
And now off to you!
What are your thoughts on spatchcocking a turkey? Is it worth it or not? did I totally botch this by not removing the keel bone?
Would you consider cooking a whole turkey outside the holiday season? (We buy ’em whenever they go on sale, guys. I’d eat this every day if I could!)
In any case, feel free to leave a comment below, or hit us up on all the usual social media channels like Facebook and Instagram.
And if you make this or any other recipe from the blog, be sure to snap a photo and share it with the hashtag #unclejerryskitchen. It’s always great to see what you guys are creating in your kitchens!
That’s all for this time guys.
As always,
Food is love. Share and Enjoy!
I’ve got some turkey to eat!

 Thanks for dropping by our kitchen. We're dishing up great food, some laughs and a really great cup of coffee.